
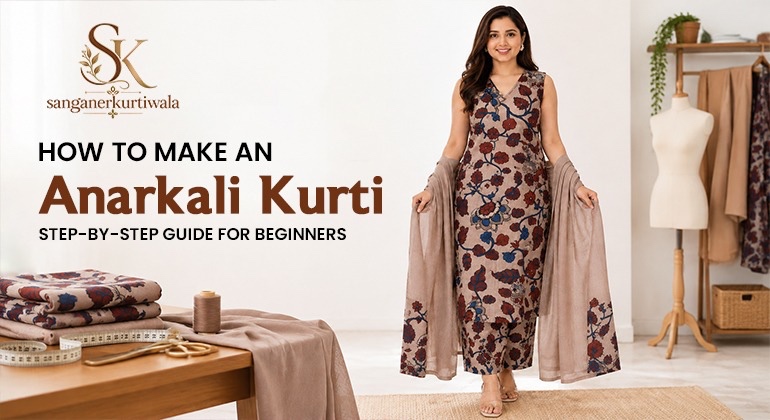
An Anarkali Kurti may look complicated on the hanger, but the basic construction is quite straightforward. Once you understand the bodice and panels, how to make anarkali kurti at home feels far less daunting.
Related content
What Do You Need to Make an Anarkali Kurti at Home
For a simple DIY Anarkali kurti, keep your supplies ready before you start. You will need fabric, lining if required, a measuring tape, pattern paper, tailor’s chalk, fabric scissors, ruler, sewing machine, matching thread, pins or clips, iron, and a seam ripper. Cotton or cotton-blend fabrics are easier for beginners to cut and stitch than slippery fabrics. How to make anarkali kurti becomes simpler when everything is prepared beforehand.
What Measurements Do You Need for an Anarkali Kurti?
Before you start how to make anarkali kurti, take your bust, shoulder, waist, armhole, neck, sleeve, upper-arm, and full-length measurements. Use a measuring tape without pulling it too tightly. For a flared Anarkali, also note the exact point where the bodice will meet the panels, since it may sit above your natural waist.
Keep three things separate while drafting: your actual body measurements, the extra room needed for comfort, and the seam allowance needed for stitching. Mixing these figures can throw off the fit, so mark each one clearly before cutting.
How to Draft an Easy Anarkali Kurti Pattern
A simple paper draft can make how to make anarkali kurti far less confusing when you reach the cutting stage.
Draft the Front and Back Bodice
Draw the front and back bodice separately. Add the shoulder, neckline, armhole, bust line, and joining line according to your measurements. Keep the front neck deeper than the back. The joining line can sit above the natural waist, depending on the style you are making.
Draft the Flared Panels or Kalis
The flare comes from the long panels, or kalis, attached below the bodice. For an Anarkali kurti pattern that is easy to handle, use 6 to 8 panels. Eight panels work well for a first project.
Finished panel width = joining circumference ÷ number of panels
For example, 32 inches divided by eight gives a 4-inch top width per panel. Extend the bottom width for more flare, then include seam allowance before cutting.
How to Cut Anarkali Kurti Fabric Without Mistakes
Once you have drafted your pattern, how to make anarkali kurti is dependent on precise cutting of the fabric. Prepare your fabric first by pressing it if needed once washed. Test its grain and width, fold it in half, match its edges and place your bodice and panels, ensuring they are facing the correct way. Before cutting, mark where your seam allowances and notches are.
When doing Anarkali kurti cutting, check to see if your border or any of your pattern pieces are directional before laying out your pieces on the fabric. Keep panels that look alike labeled if they aren’t already to ensure you don’t mix them up later. Cut your sleeves and lining using their respective pattern pieces. Taking the time to do this will allow your panels to meet more nicely when sewing.
Related Content
How To Wear A Short Kurti With Jeans: Easy Styling Ideas
How to Stitch an Anarkali Kurti Step by Step
The sewing is where how to make anarkali kurti starts coming together, so work through each section carefully.
Step 1: Finish the Neckline
Use a facing, lining, or another simple finish around the neck. Small clips around the curve can help the seam turn neatly.
Step 2: Join the Shoulders
Place the two bodice pieces together and line up the shoulder edges. Sew across both shoulders and press the seams. A well-aligned bodice makes the rest of how to make anarkali kurti much easier.
Step 3: Attach the Sleeves
Confirm that the sleeve matches the armhole according to the notches and that the sleeve front will align with the bodice front. Pin in place around the curve and stitch.
Step 4: Stitch the Anarkali Panels Together
Line up the panels in their numbered order and sew the seams one at a time. Press each seam allowance as you go, keeping the seams the same width. Once all of the panels are stitched together, lay the pieces flat and examine the bottom edge of the flare.
Step 5: Attach the Panels to the Bodice
Match up the center front to center back, and side seams to side seams. Complete the seam by stitching around the rest of the joining edge, distributing the fullness of the flare evenly as you pin. If you want to check the fit before you finish the sewing, hand-baste the seam before Anarkali kurti stitching.
How to Finish the Hem and Get an Even Flare
The final hem should follow the way the finished garment actually hangs. After the Anarkali kurti stitching, try it on and check the length, sleeves, neckline and fit. Then inspect the flare and mark any panel that looks longer or shorter than the rest.
A wide flare may settle after the garment has been assembled, especially on fabrics that fall on the bias. Give it some time to hang, mark a clean hemline, then finish and press the edge. It is the final tidy-up in how to make anarkali kurti.
What Are the Common Anarkali Kurti Stitching Mistakes to Avoid?
A first Anarkali does not have to be perfect, but a few mistakes are easy to avoid. Before you finish how to make anarkali kurti, check the following:
- Seam allowance has been added correctly
- Fabric pieces follow the grain
- Every panel is clearly labeled
- Panel widths match where they should
- Seams are pressed as you work
- Prints and borders face the right direction
- Fabric is suitable for your skill level
- The hem has been checked on the finished garment
These simple checks can make Anarkali kurti stitching much less frustrating.
Conclusion
Once the basic steps are clear, how to make anarkali kurti becomes a practical project rather than a difficult one. Take care with the measurements, mark every panel clearly, and check the fit before finishing the hem. A simple Anarkali kurti pattern is all you need for your first attempt.
FAQs
Which fabric is good for a beginner making an Anarkali Kurti?
Cotton is easier to work with when you are new to sewing. Cotton blends are another option if you want a softer fall.
How do I work out the width of each Anarkali panel?
Take the finished measurement of the joining area and divide it by the number of panels. The result gives you the finished top width.
How can I add more flare to an Anarkali Kurti?
Make the panels wider toward the bottom. You can also use more panels, although that means more seams and a little more work.
Why do my Anarkali panels look uneven after stitching?
The problem may start with uneven cutting or inconsistent seam allowances. Compare the panels before sewing and press each seam as you go.
Should I wash the fabric before Anarkali Kurti cutting?
For fabrics that may shrink, washing them before cutting is a sensible step. It reduces the chance of the Kurti becoming smaller after its first wash.
What is the easiest Anarkali Kurti to make at home?
An eight-panel Kurti with a simple neckline and straightforward sleeves is a practical first choice. It gives you the Anarkali shape without too many tricky details.
How do I work out the panel length for an Anarkali Kurti?
Take the finished Kurti length and subtract the bodice length. The number left is the panel length you need for how to make anarkali kurti.
What can I use instead of a separate bodice in an Anarkali Kurti?
A single-piece design can be used for a simpler style. It reduces the number of seams and can make how to make anarkali kurti easier for a first attempt.
Where should the flare of an Anarkali Kurti begin?
The joining line can sit at the natural waist or a little higher. A higher point leaves more length for the panels, changing the way how to make anarkali kurti falls.
Which parts of an Anarkali Kurti can I alter after stitching?
You can alter the sleeves, neckline, side seams, or length. Panel changes need care because they affect flare while learning how to make anarkali kurti.